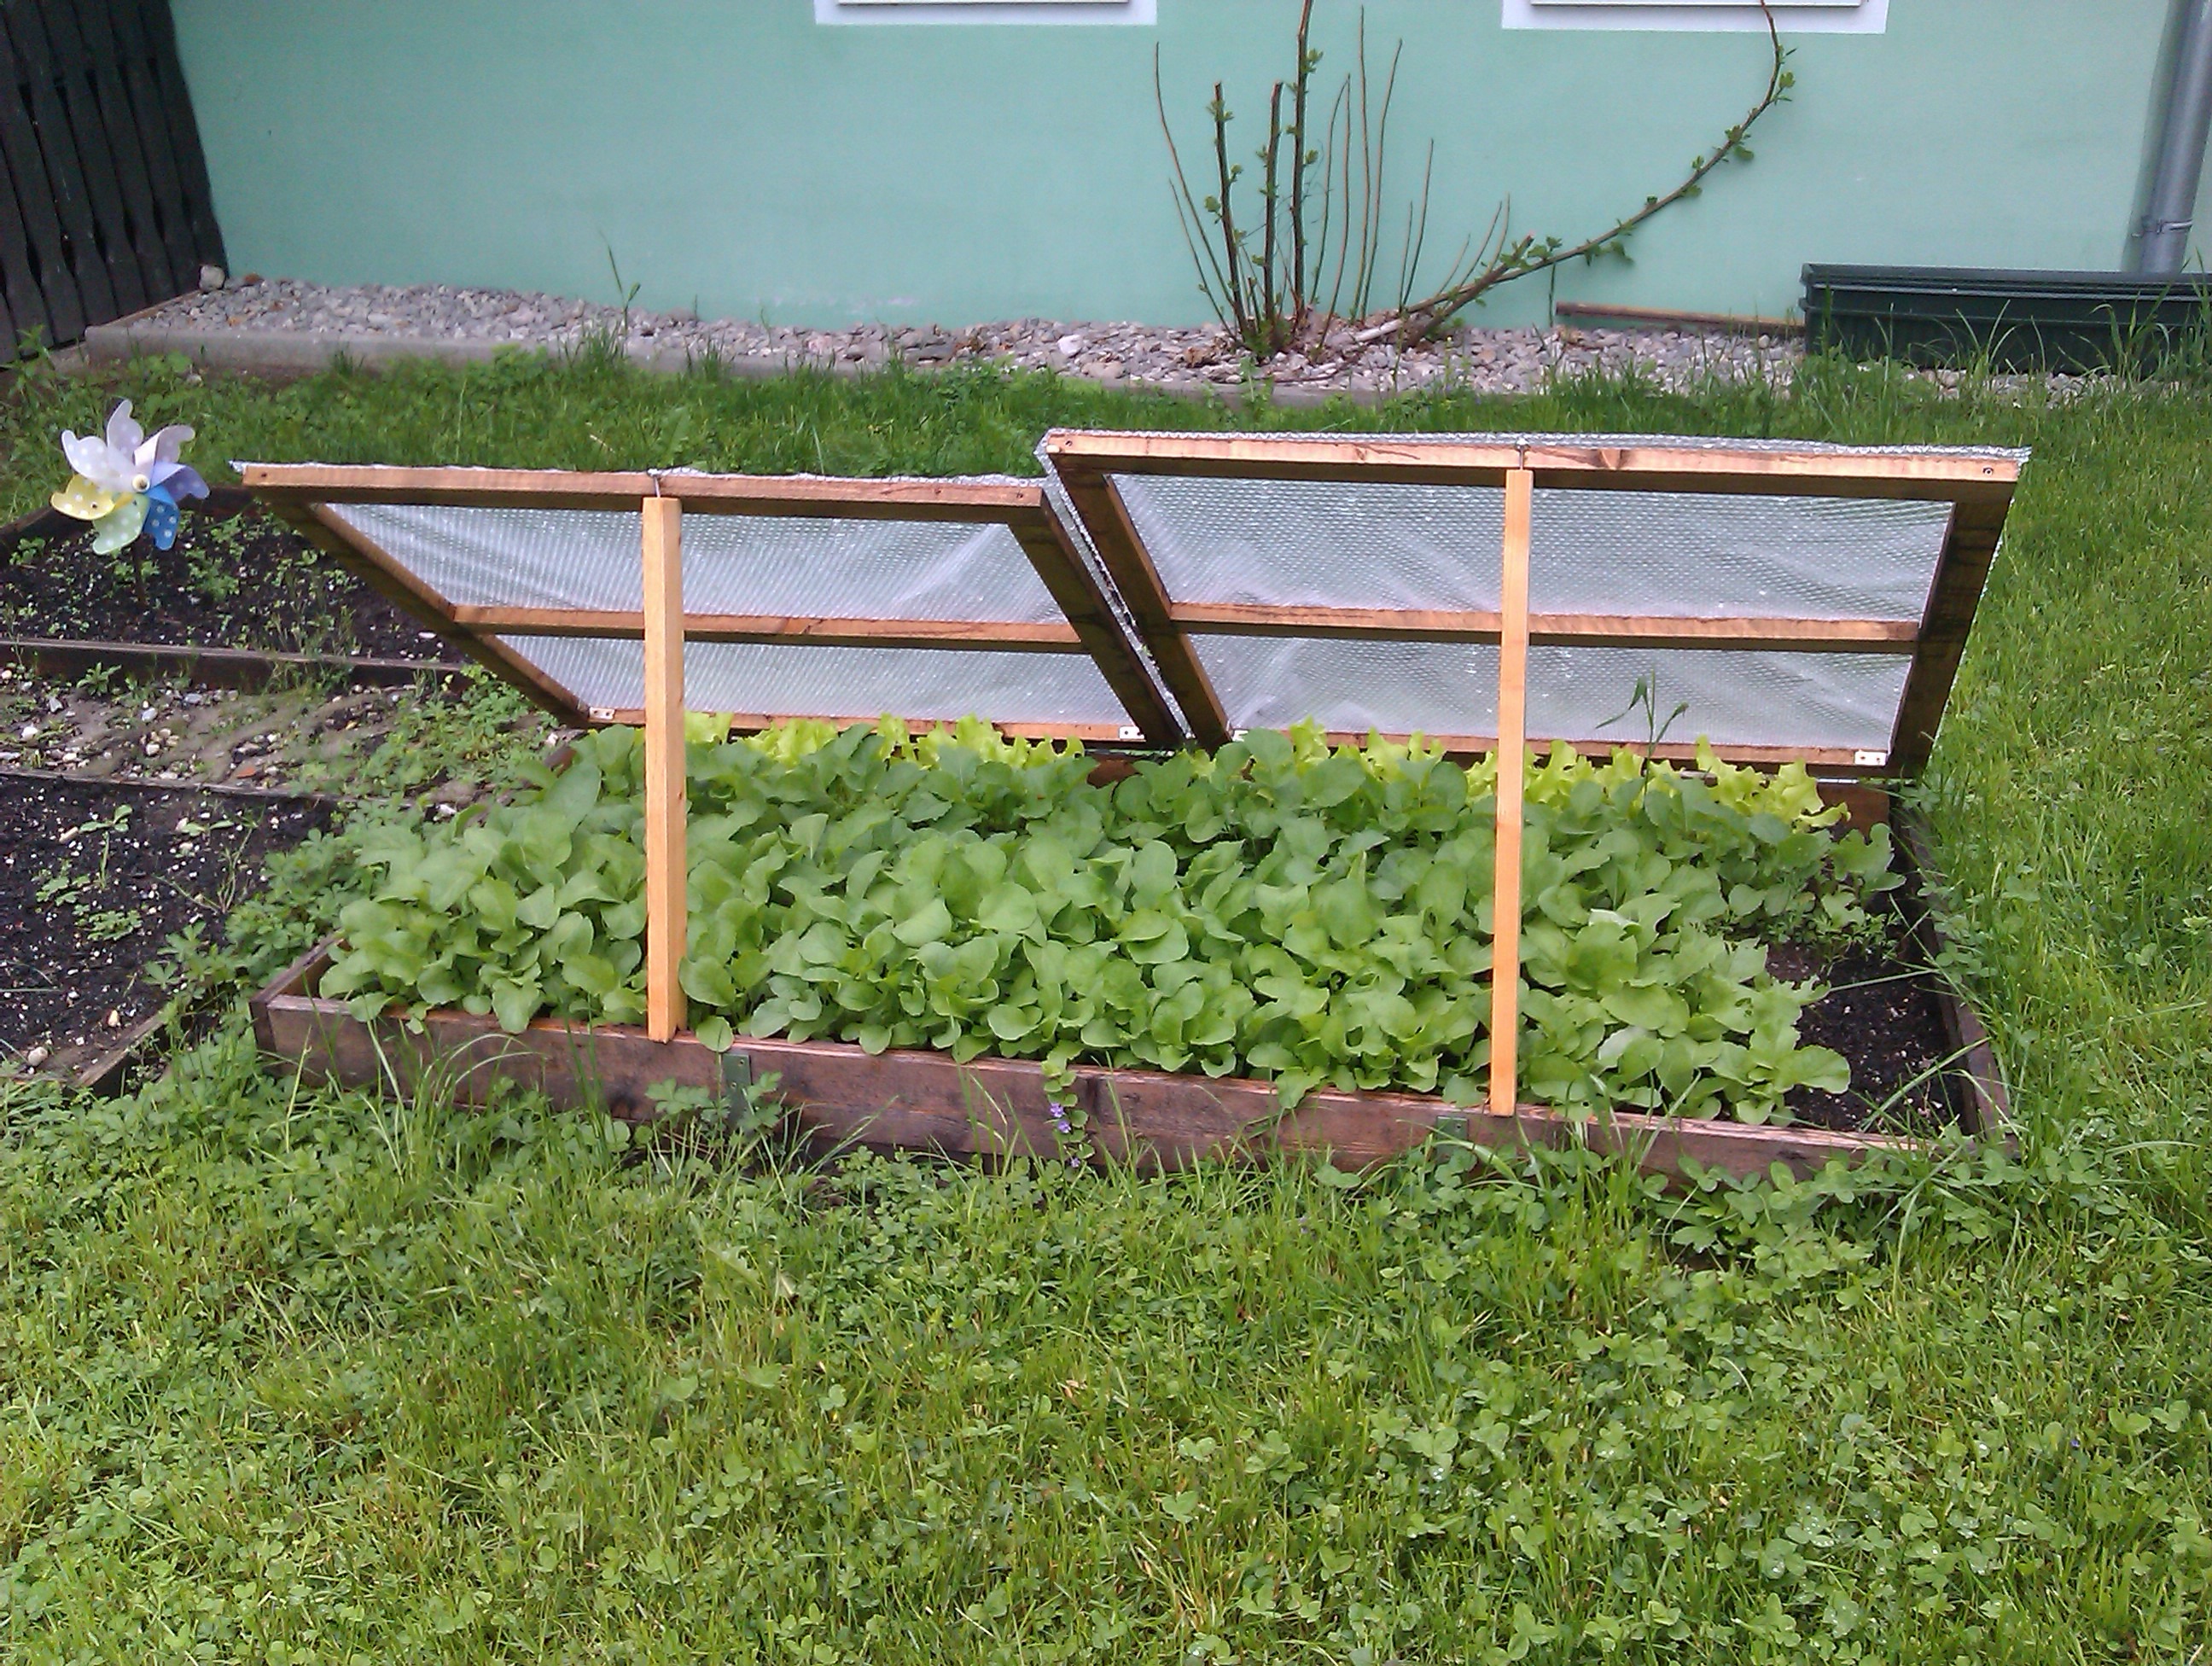
Cold frames. They are the workhorse of my garden. Every year, they are pulled into service, both in the early spring and then again in the fall. They alone, allow us to extend our growing season from late February – November (and sometimes into December) which is pretty darn good for living in USDA hardiness zone 5.
If you are new to gardening, a cold frame is a transparent roofed structure that is used to protect young plants from cold weather. Place the cold frame on the ground in a sunny location with a southern exposure. Tender young plants are protected from harsh winds and exposed to sunlight through the transparent roof, while the structure helps retain radiant heat to keep plants warm, similar to a greenhouse.

cold frame following a snow
Building a cold frame requires basic carpentry skills and a short materials list. An inexpensive version can be constructed from items repurposed/recycled from previous home projects.
Materials:
- old window or transparent sky light window with glass in tact
- recycled cedar, cypress, or redwood
- wood posts
- door hinges (at least tw0 per cold frame)
- screws
Tools:
- screwdriver
- saw
Remember to stay away from pressure treated wood or railroad ties. They typically contain chemicals such as pentachlorophenol or creosote. These chemicals release vapors that are toxic to plants.
When you build the cold frame, keep the size manageable. The width and length are determined by the size of window or other transparent material which will be the roof. For example, if your window is 2’ x 4’, the cold frame box will be 2’ wide and 4’ long. For height, build the back of the cold frame 6” higher than the front. This allows for water to run off the window, the roof, of your cold frame. For northern climates, snow and ice will slide off as it melts. If the front of the cold frame is 12” high, the back is 18” high, the overall dimension will be 2’W x 4’L x 12”D (front) and 18”D (back). Remember that you do not have to build a very tall structure. You want to be able to comfortably reach into the cold frame to plant and harvest your cool season produce.

veggies following a snow
Cut two posts to 12” and two to 18”. They will be corners of your cold frame. Next, cut your wood to 2’ and to 4’ lengths. Screw the wood to the posts to form a 2’ x 4’ rectangle. Slope the sides of the frame accordingly, using a saw. Once the frame is constructed, lay the window on top. Place the hinges on the back of the cold frame and window frame and screw into place on the high side (18″ side rather than the 12″ side). By placing the hinges on the high side, you will be able to reach comfortably into the cold frame.
Congratulations! Your cold frame is finished. Total construction time is approximately 20 – 30 minutes per cold frame. You are now ready to set it into a garden bed. (For maximum season extension, place in a location that receives at least 6 hours of sunlight each day.) Select cool season crops such as spinach and radishes which will perform much better in fall and late winter/early spring weather.
By gathering a few materials and possessing basic carpentry skills, you too, can build your own cold frame(s) at home.
To find locally grown winter produce, visit our vendors on Pick-A-Pepper.com!
About the author: Connie (Urban Overalls) grew up on a farm in rural Iowa which taught her many lessons: raising chickens, growing produce, enjoying raw milk, how to cook from scratch using whole foods, canning, mending clothes, and the importance of being someone who gives back to the community. Now living in an urban setting, she brings her country ways to the city. Join Mr. and Mrs. Overalls as they share their adventures, recipes, and how-tos from their 1/3 acre slice of heaven near the center of town. See more great stuff on their blog: http://urbanoveralls.net/
Similar Stories:
- ADAPTING YOUR POND TO CLIMATE CHANGE
- Growing Figs In a Temperate Climate
- Sheet mulching
- Getting Started Beekeeping with Package Bees
- Swales are Swell!