So you broke the handle on your favorite shovel? No need to go out and buy a whole new tool. It is simple, less expensive, and a good practice, to replace the old one instead. Here’s how to do it in a few easy steps:
Set your tool up in a vice to make the whole process easier on you, and so you don’t hurt yourself.
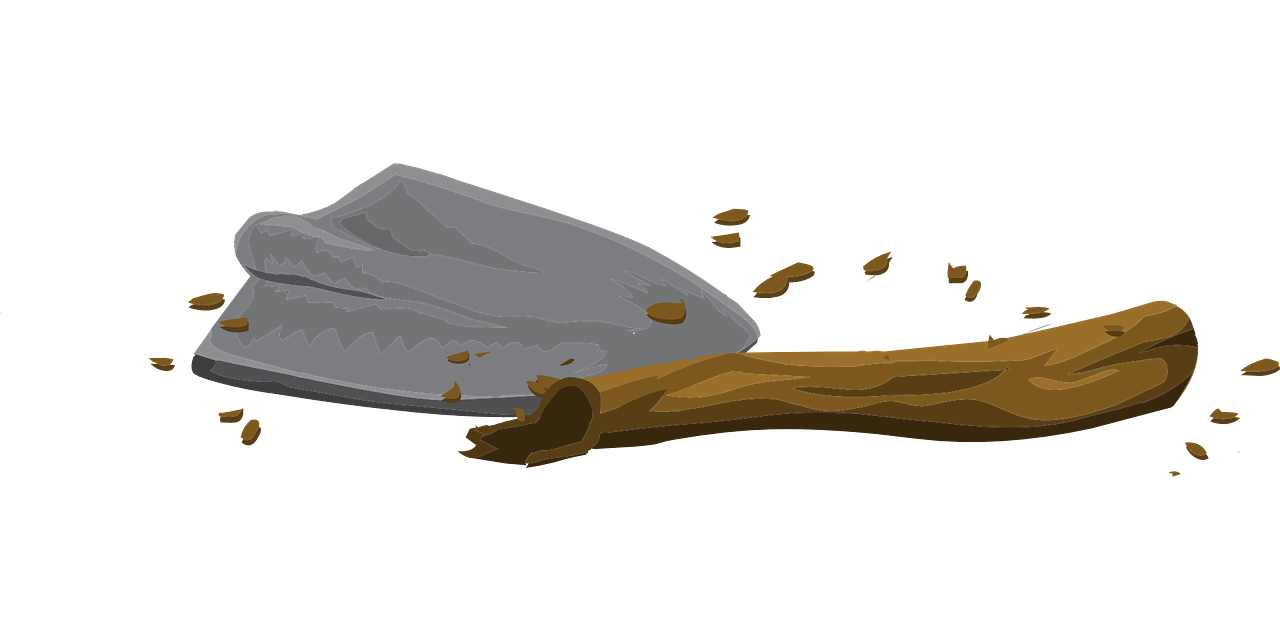
Remove the old handle from the hasp (the part where the handle fits onto the tool). This usually means removing any nails, pins, or other fasteners that are holding it in place, and figuring out how to gouge out the old wood. A drill could be handy here or perhaps a flat head screwdriver to pry out the old wood. Make sure you completely remove all of the old wood and fasteners from the hasp. If the fasteners can be salvaged, set them aside. You may need a hacksaw to remove the fasteners.
Get yourself a new handle that is the right size for the tool. You can probably find one at the local hardware store. A good wood is ash or maple.
Check to see if the handle fits. If it is a little too big, use a file to make a better fit.
Apply an epoxy around the end of the handle and slide it into the hasp.
Secure the handle by drilling a new hole through the pin hole and using fasteners such as nails, or bolts, locking washers, and hex nuts to keep it in place.
Get back to work!
written by Emma O’Connell, Founder of Pick-A-Pepper.com
Similar Stories:
- Getting Started Beekeeping with Package Bees
- Soil Blocks for Seed Starting
- ADAPTING YOUR POND TO CLIMATE CHANGE
- Growing Figs In a Temperate Climate
- 5 ways to keep on top of social media demands